
seeds & shot glasses
This past Sunday marked the one time a year where we pull out our shot glasses, tequila, and limes and plant some seeds! Ok, maybe there wasn’t any tequila or limes but we did plant some seeds and given we’re so fancy, we did indeed use a shot glass to “tampen” the soil. You might be thinking, “I’m sorry, what is tampen?” Well if you must know, it happens to be the word I used incorrectly all day to describe the process of compressing the soil ever so slightly to ensure the seed is in contact with the soil. It can also be referred to as “tamping” but I’ve decided to stick with tampen strictly out of pride (video evidence on Instagram).
If you’re planning to start seeds inside this year, below is a list of supplies you’ll need along with very easy steps to follow. Don’t let the process intimidate you. 100 seeds or 10 seeds - it’s all equally as rewarding and if they don’t grow, you can always try again!
Supplies
Seeds
See this post for more info.
Seed Starting Mix
We have used Miracle-Gro in the past but used Jiffy this year. Fingers crossed!
Seed containers
My OCD has a hard time considering using tons of different containers to start seeds in so we’ve always gone the tray route. In regards to watering, fertilizing, and hardening off (more on that later), it’s much more manageable when they’re easily transportable as a unit. However, there are lots of different options so feel free to browse the black hole of the internet at your leisure.
You can get them at most garden centers, hardware stores, etc. but below is an example of what we have. Getting the whole set is nice because the tray they sit in is ideal for bottom watering (again, more later) and the top is nice for when the seeds are germinating.
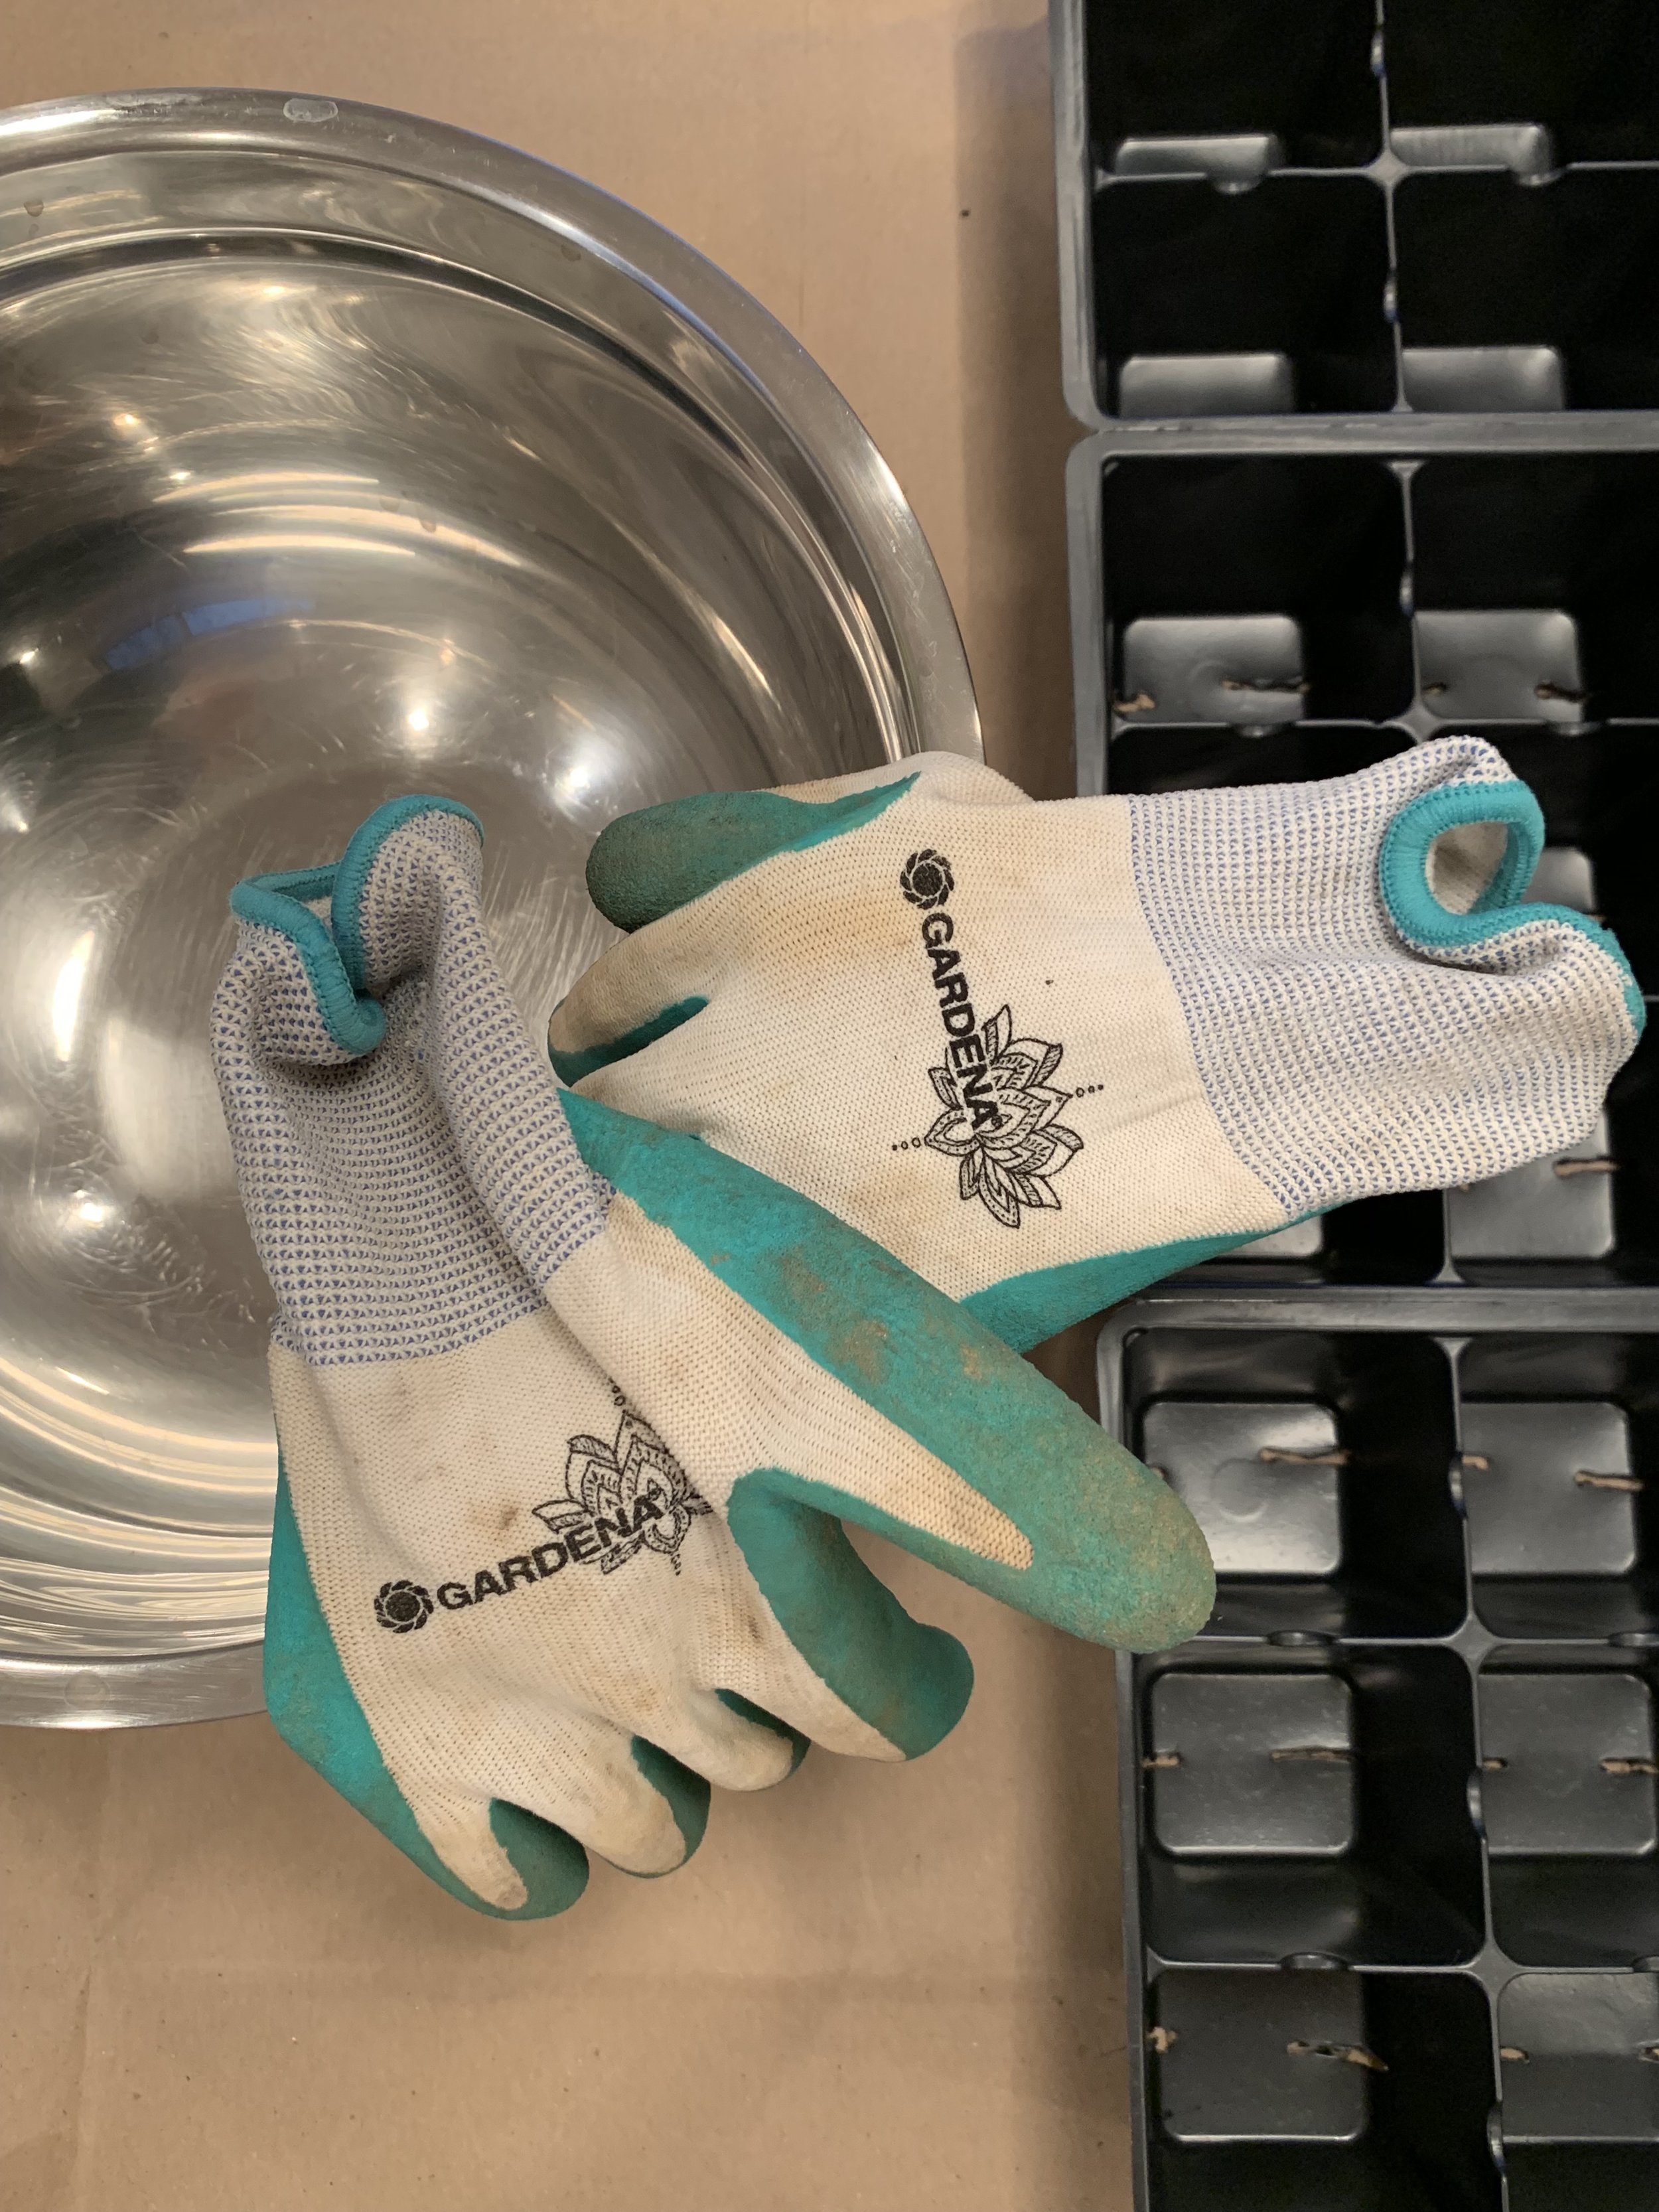
Mixing bowl
Water
Gardening gloves (unless you like dirt under your nails!)
Gardening notebook
Shot glass (seriously)


Before you Begin
Find a spot inside (or outside if it’s not freezing) where you aren’t afraid to throw some dirt around. We typically cut up some old paper grocery bags and tape them down to our kitchen counter. When we’re done it’s easy cleanup and we can recycle!
Make a list in your garden notebook, on a piece of paper, or in your iPhone of the date you’re planting, what seeds you’re planting, and how many of each. This will be helpful later, I promise.
This isn’t really necessary but if you’re a perfectionist like me, having a seed planting tool is helpful. I have Adam put a piece of painter’s tape on a pen or pencil and mark off the seed planting depths (listed on the back of each seed packet).
Seed Planting
Pour the seed starting mix into your mixing bowl. Pour some water into the bowl to dampen the soil. It should still crumble out of your hand if you try to form it into a ball. Moist, not soggy!
Move the soil into the seed starting trays. You don’t have to be precise about this! Just pick up handfuls and dump it over all of the cells. Make sure each cell is filled equally.
Use your shot glass to lightly compress (tampen) the soil. You might find that you’ll have to refill some of your cells - that’s fine.
Use your handy pen to make holes in each cell. The depths will be dependent on what you are planting so make sure to reference the back of the seed packet. The rule of thumb is that you plant two times the width of the seed. You can plant multiple seeds in a cell in different holes if you’d like. I typically just do one because I don’t have the heart after the fact to thin out (snip) the extras in the cell if multiple are successful. Totally up to you though!
Lightly cover the seeds with surrounding soil.
Make sure you mark what you’re planting on your cell trays. We use painter’s tape for easy clean-up after the season.
Now that the seeds are planted, you’ll want to water everything again. If you have a misting watering can, that’s best. Since the seeds are so close to the surface of the soil, a heavy stream of water could displace them. Water just enough that the soil gets a shade darker but don’t, I repeat, don’t overwater. This is the hardest part of the whole process. The seeds need enough water to germinate but too much will make them rot and they won’t survive. Moist but not soggy is what we’re going for!
Cover the trays with a plastic cover and put them somewhere that they’ll be relatively warm (65-70 degrees) and not in direct sunlight. Make sure the cover isn’t too tight. The soil will need some air circulation so that it doesn’t stay too damp.
Check on your seeds daily. Sometimes they’ll come up before anticipated and when they do, you’ll need to get them under lights ASAP! More to come on that…
Pat yourself on the back! You did great and you’re about to witness one of the most magical processes on our planet.


So, there ya have it! We planted on Sunday and so far nothing but we probably won’t see anything for at least a few more days. This is our third year starting seeds but I still always question myself. Did I plant the seeds too deep? Did we use the right mix? Did I overwater them? Worst case is that nothing germinates and we get to plant again this weekend. And you know what that means - shots of tequila! Only kidding...until next time y’all!
-cate


